{:en}
Hosting
This section contains the following elements:
- Webspace: Displays Traffic, Accounts and enable logging.
- Domains: Shows your domains and allows you ad d subdomains.
- E-mail: Show and add mailboxes.
- Databases: Show and add databases.
- Cron Jobs: Show and add cronjobs.
- Applications: Install additional applications.
- SSL certificates
Webspace
This section contains the following elements:
-
- PHP: Enable PHP and configure PHP options for your HostPack
- Error Logs: Temporarily enable logging to troubleshoot errors
- Web Analytics: HostPack supports AWStats and Webalizer
- FTP Create accounts & how to connect
- Traffic Overview: A brief overview of stats for your HostPack
- Password-protected directories: Restrict access of certain parts of your HostPack
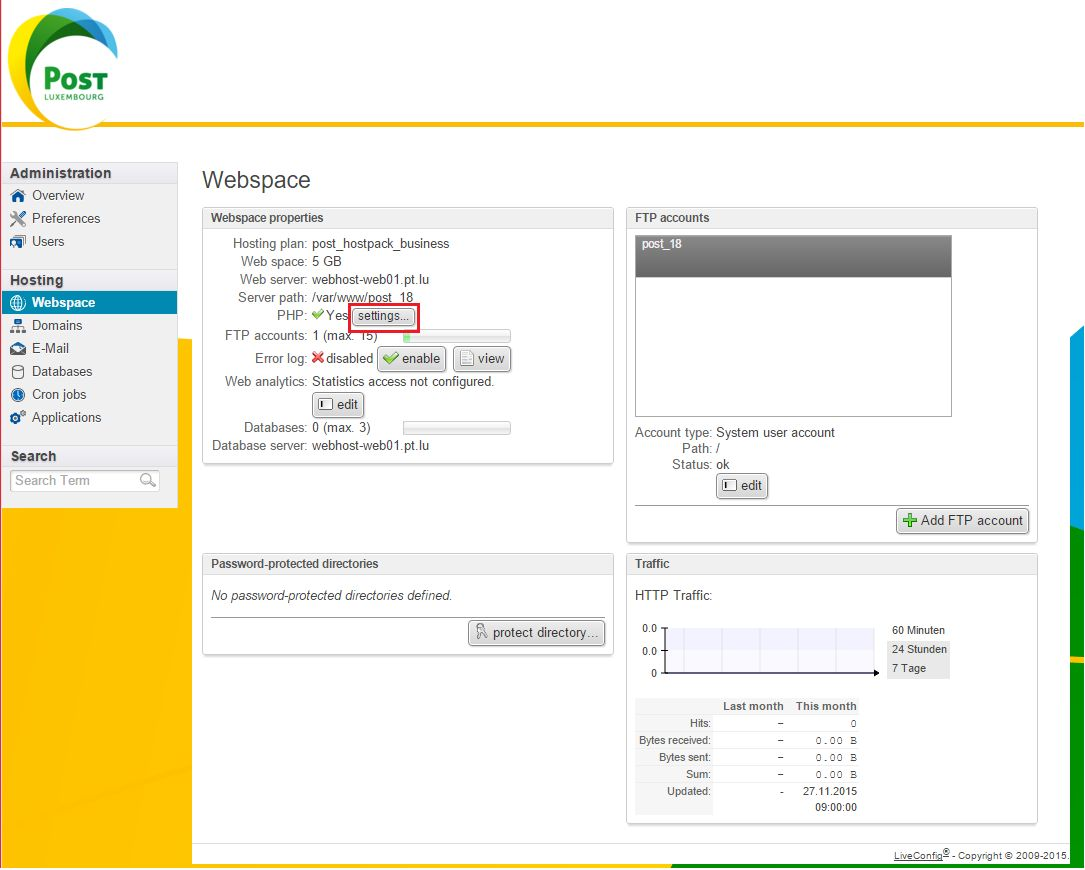
PHP
Click on PHP settings to enable and configure PHP
Edit PHP.ini settings
- display_errors
- display_startup_errors
- expose_php
- log_errors
- magic_quotes_gpc
- register_globals
- request_order
- session.name
- short_open_tag
- suhosin.executor.include.whitelist
- suhosin.session.encrypt
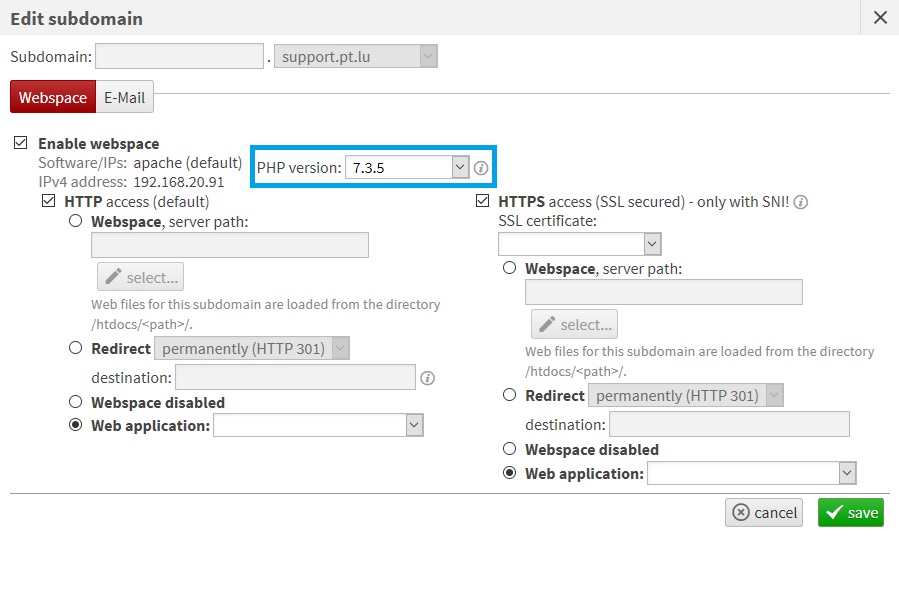
Change PHP Version
You have the possibility to change your php version per domain / subdomain. You need to go into “Hosting” > “Domains” > click on your domain and here you have the possibility to change your PHP version:
Error Logs
Error logs are disabled by default
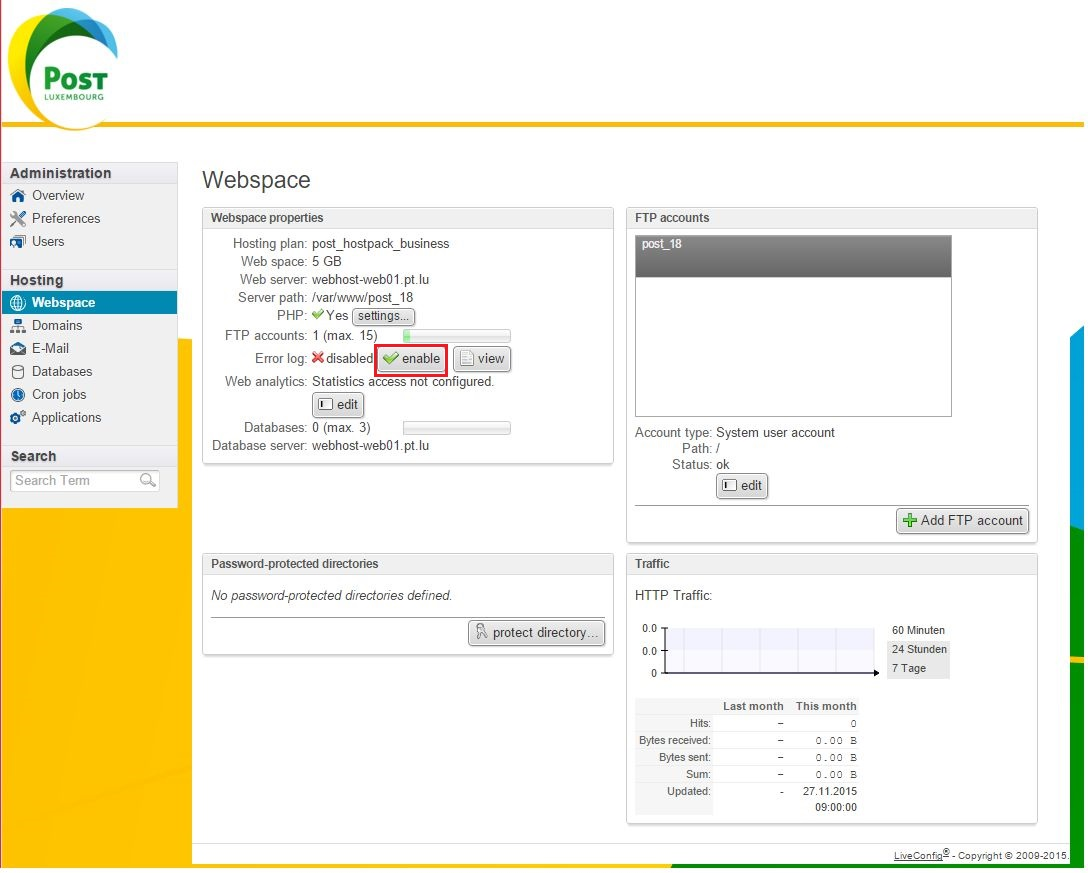
To enable click on Error Log: enable
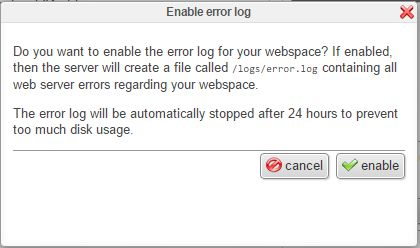
- Once Enable error log pop displays click enable
- /logs/error.log is now generated
- The error log will be stopped after 24 hours to prevent too much disk usage.
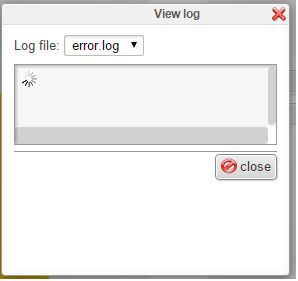
- Once enabled you can access the log by clicking on view
- The log error log will then be displayed
- Note: Only errors will be displayed in this log

Web Analytics
Web Analytics are not enabled by default

To enable click on edit
- Click on the dropdown for Software
- There is three options available:
- no statistics
- Webalizer
- AWStats
- Select which ever you prefer
- Enter a User name
- Enter a Password
- Repeat the password
- For additional security you can generate a random secure password
- Click on Save
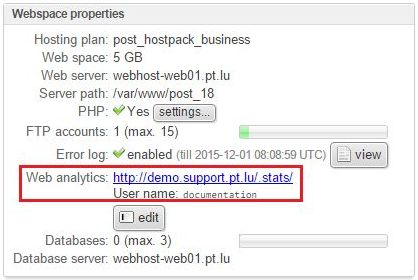
- Once enabled you can access the new link available
- Login using the username and password previously created
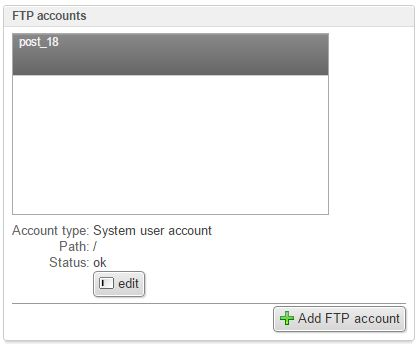
FTP
FTP accounts are enabled as part of the HostPack installation
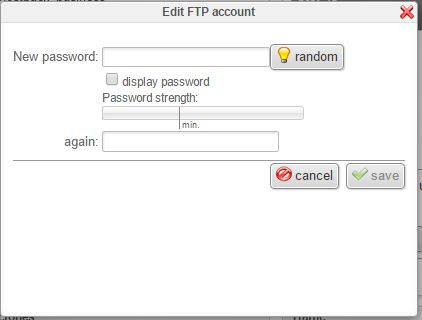
To change existing users passwords:
- Click on the user you wish to modify
- Click on edit
- Enter a new password
- Repeat the password
- For additional security you can generate a random secure password
- Click on Save
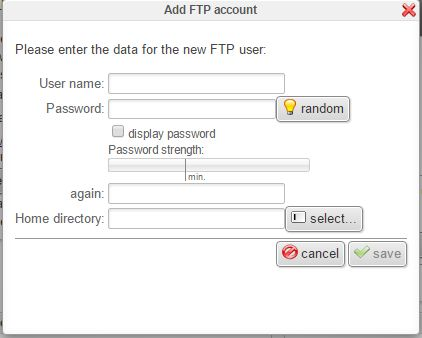
Create new FTP user
- Click on Add FTP account
- Add a username
- Enter a password
- Repeat the password
- For additional secuirity you can generate a random secure password
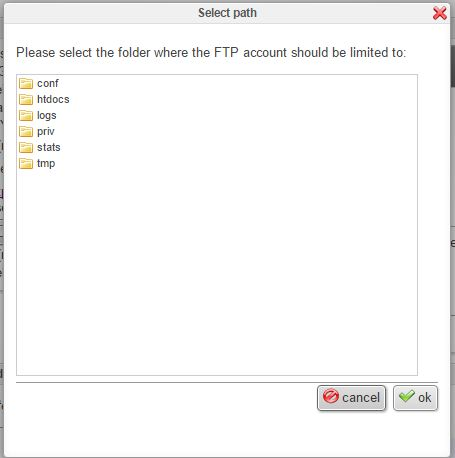
- If you wish to restrict the ftp user to a certain folder then populate the Home directory by clicking select
- Click on save
How to connect over FTP with a client
To upload and download your files from your Hostpack, you need to connect over FTP(s) to your subscription.
1. You need an FTP Client (for example: Filezilla or WinSCP).
2. You need the server address, this is mostly your domain like for example yourdomain.lu.
3. You need an user and a password. In the sections before you find more information about how to create a user or how to change a password.

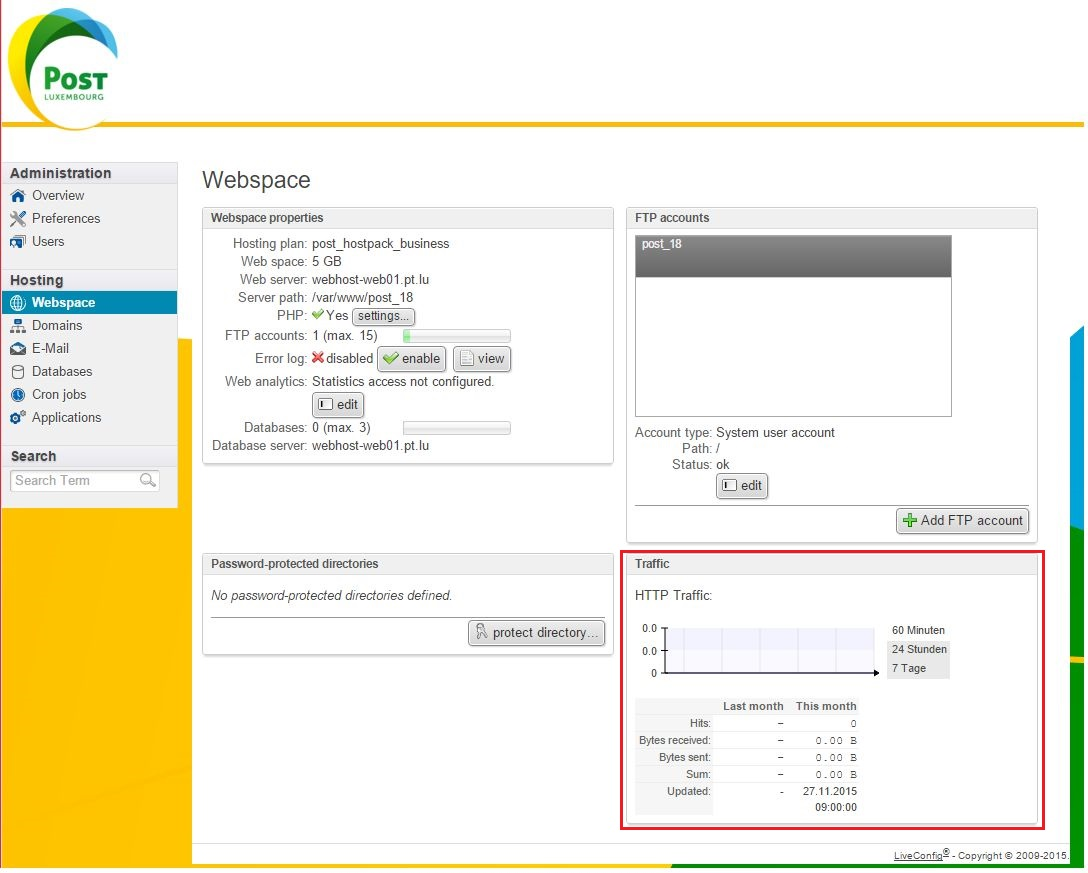
Traffic Overview
This displays the basic metrics for you domain
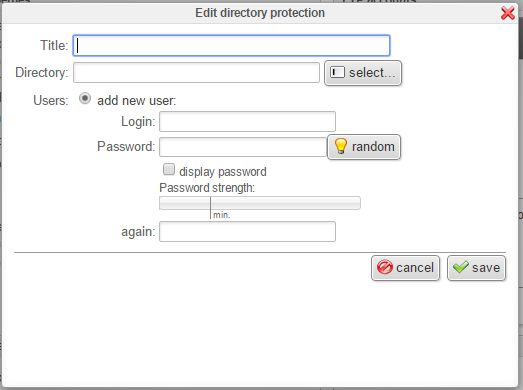
Password-protected directories
Password protected directories not enabled by default.
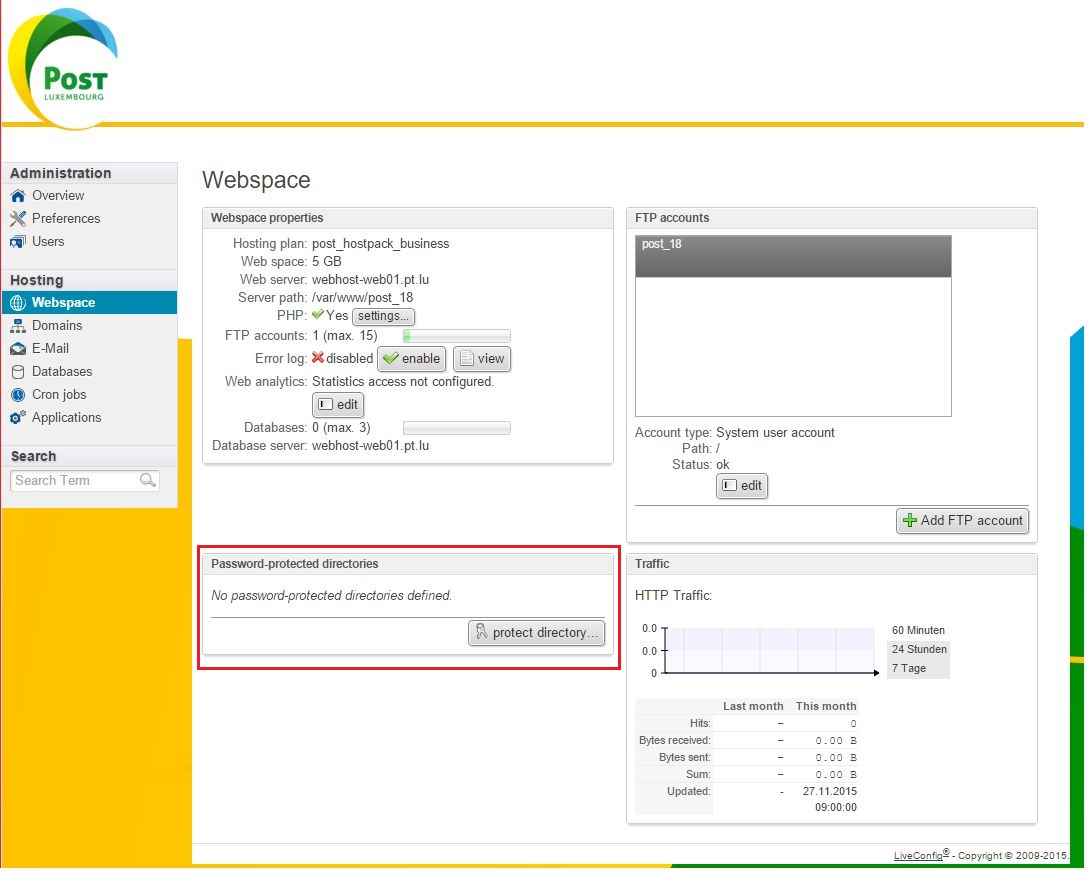
- To enable password protected directories click on protect directory
- Enter a Title
- select the directory you wish to protect
- Enter a Login
- Enter a password
- Repeat the password
- For additional secuirity you can generate a random secure password
- Click on save
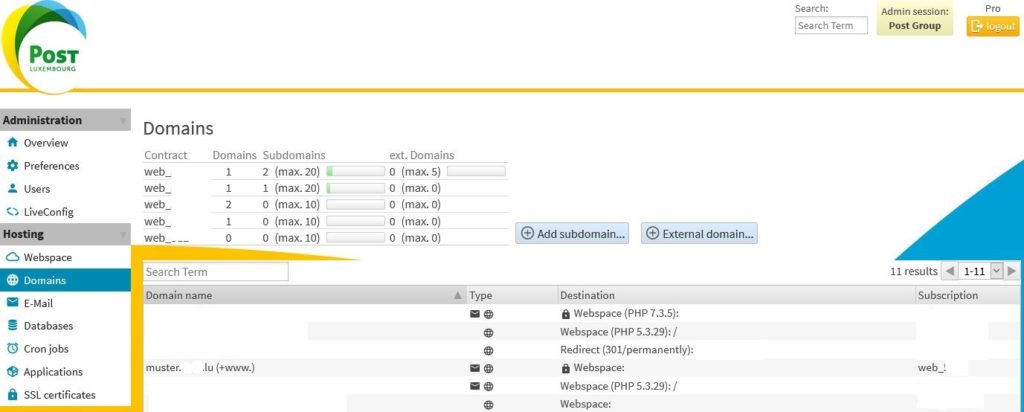
Domains
Please be aware that your domain name must already be registered and the correct DNS records implemented, else your HostPack services will not be reachable from the internet.
This section contains the following elements:
View Subdomains
Click on Domains
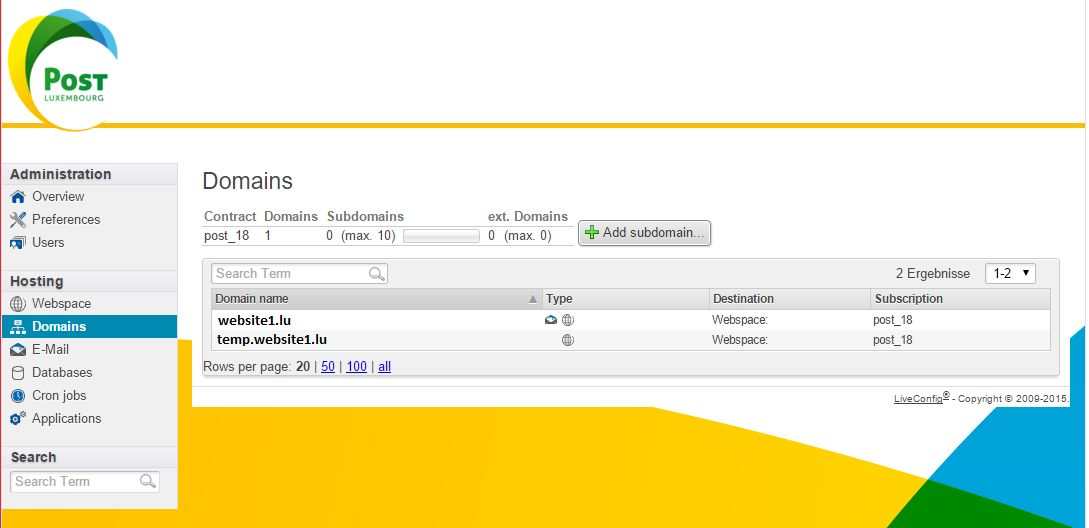
Add a subdomains
Click on Add subdomain
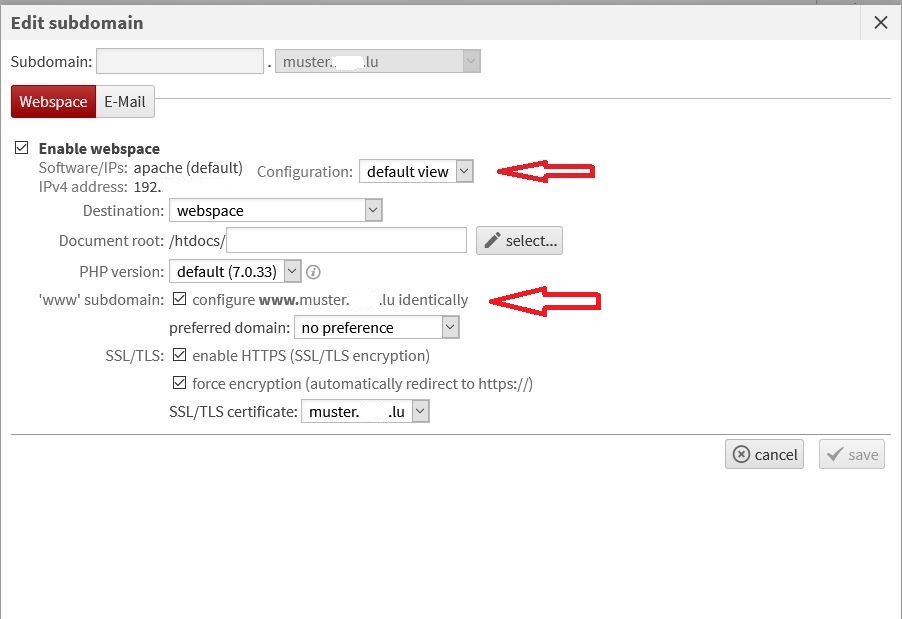
- Enter the subdomain name
- Select the domain options you want
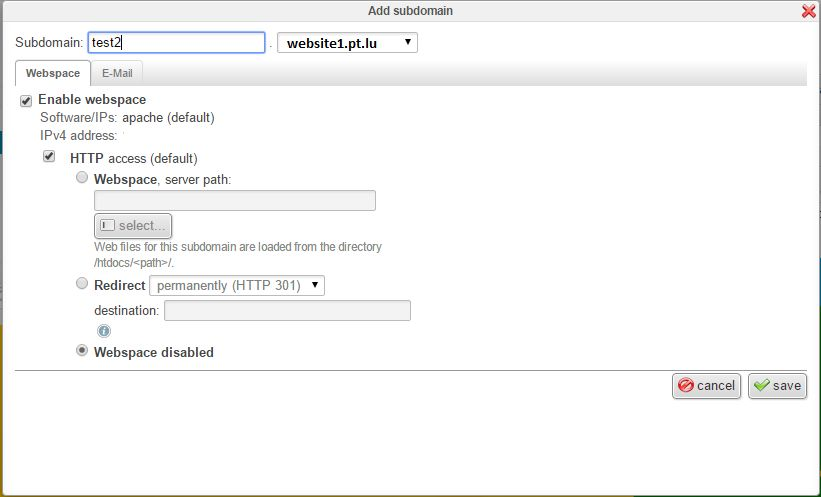
Enable Email for your subdomain
- Click on the E-mail tab
- Check the box to enable E-mail for the subdomain
- Click on Save

This section contains the following elements:
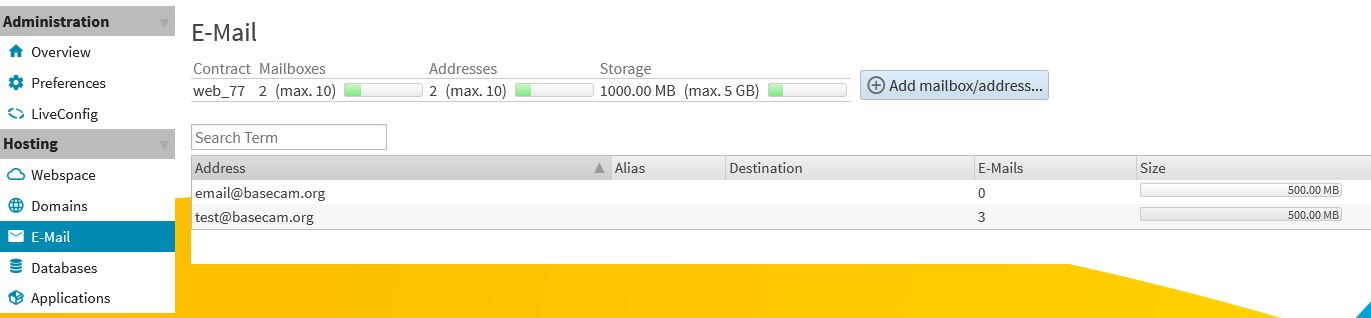
View all mailboxes
Click on E-mail
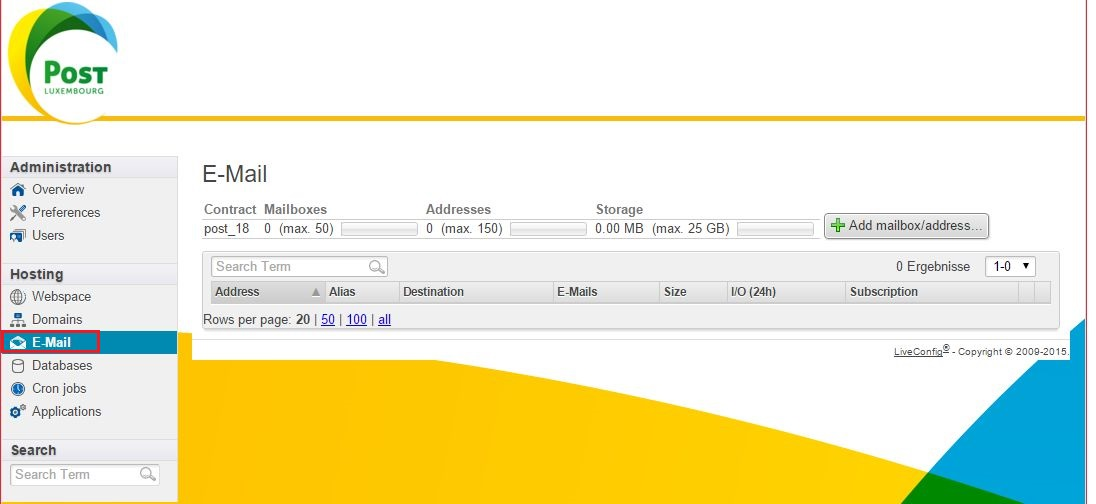
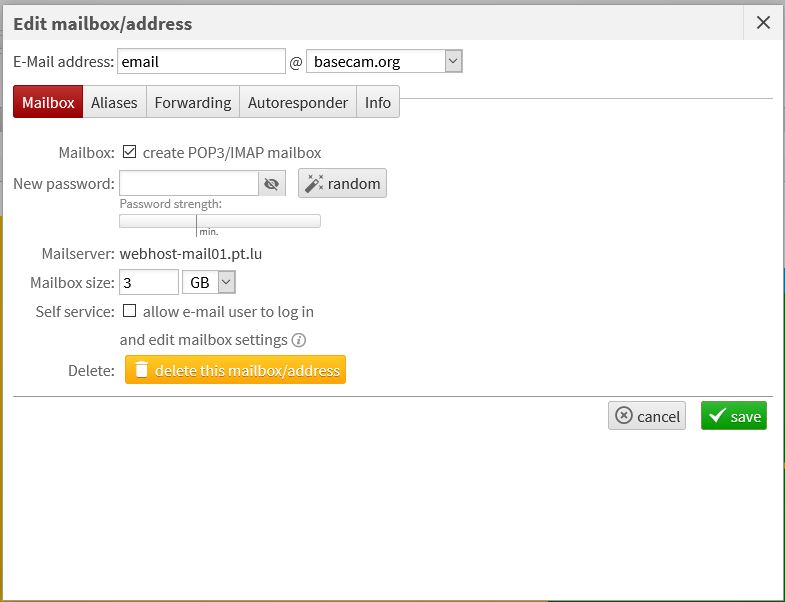
Add a mailbox or email address
Click on Add mailbox/address…
- Enter the email address you want.
- When defining en alias – please specify only the alias without the domain name part – i.e. for an alias info@yourdomain.lu , specify only info inside the alias field
- Configure the options you want
- Enter a password
- Repeat the password
- For additional secuirity you can generate a random secure password
- Click Save

Change the Mail quota
in this example you have 2 email addresses with a quota of each of 500 MB.
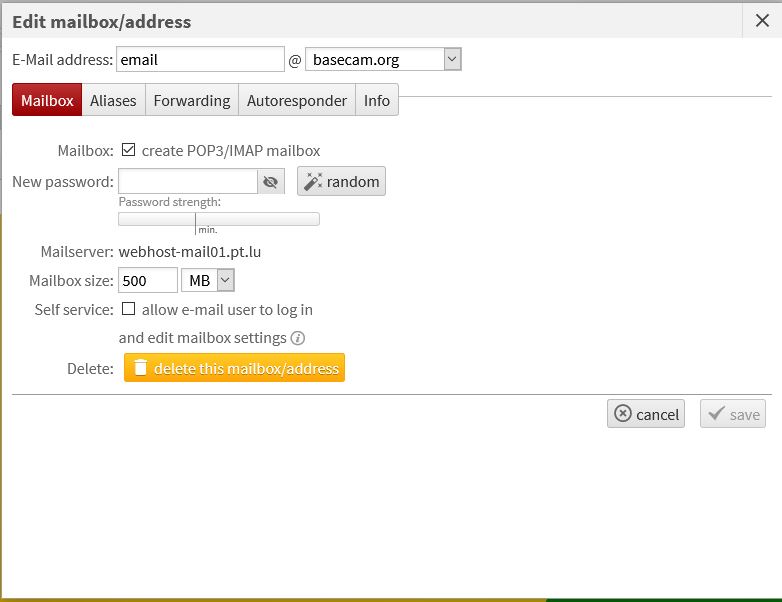
If you want to change the quota you have to click on the mail address and put the new value in the Mailbox size.
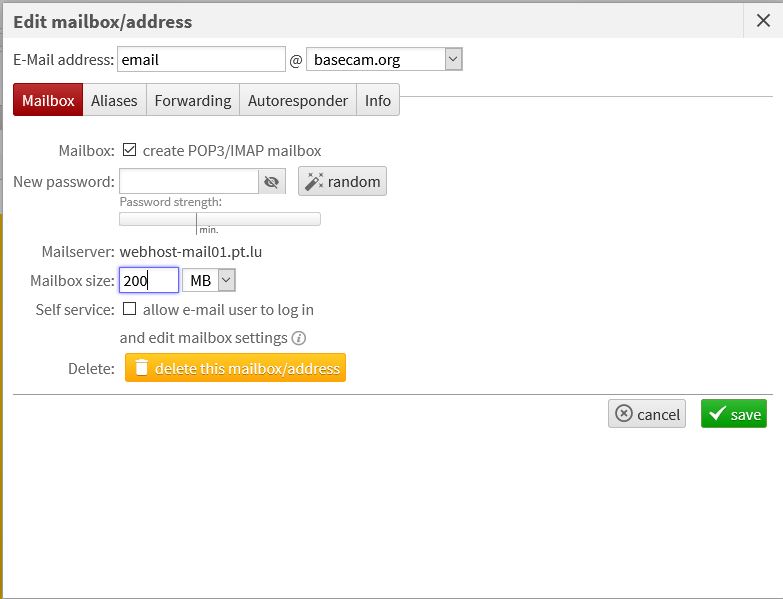
for the size in GB you have to select this
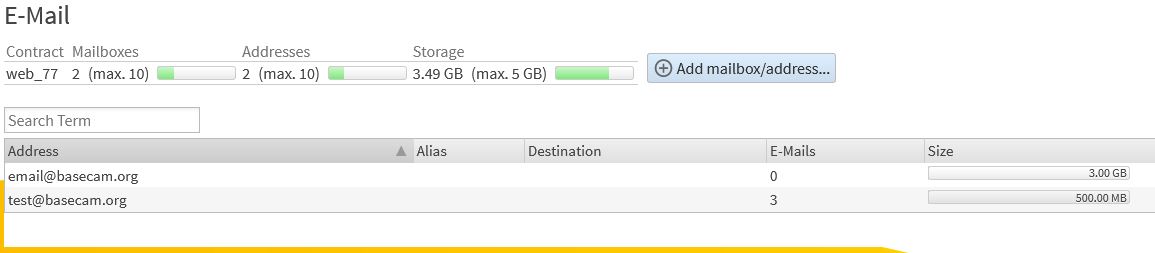
you can see that the mail quota has changed.
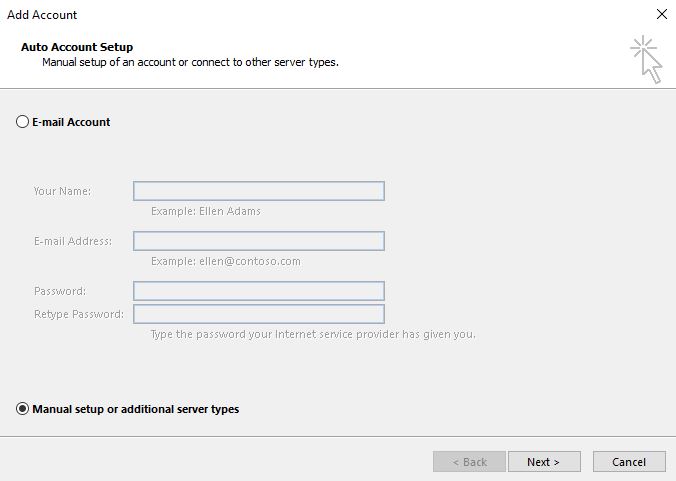
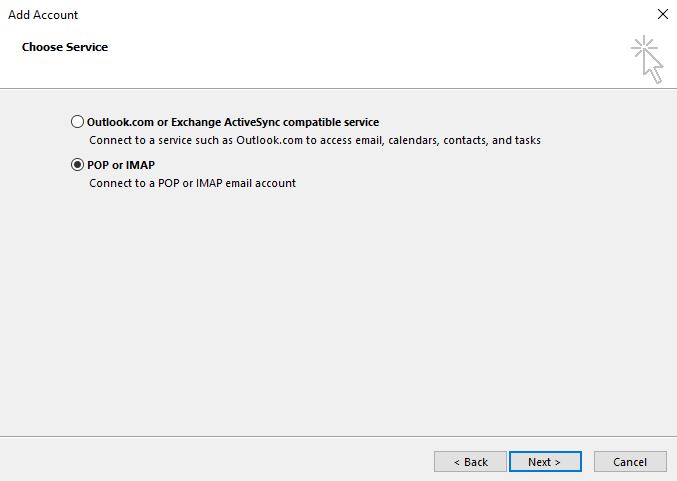
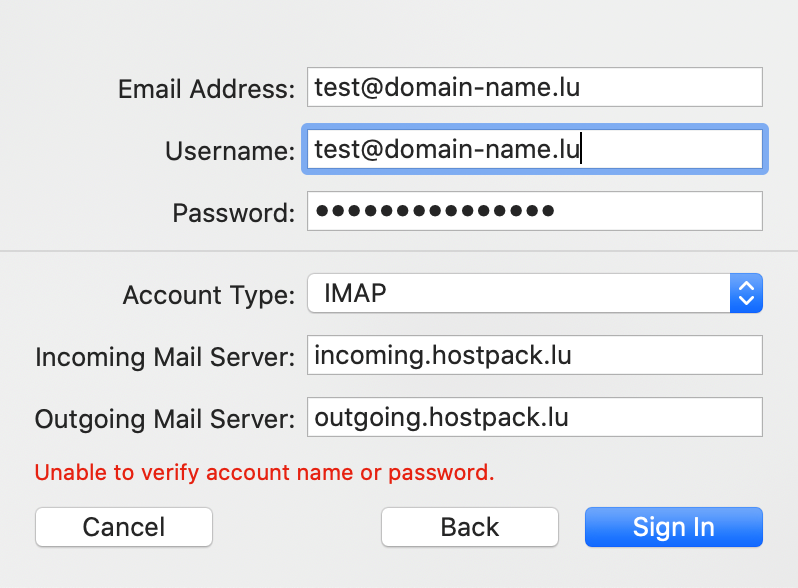
Configure Email client
We strongly recommend to use IMAPS, which is a modern protocol to read and manage your mailbox.
POP3S is an obsolete protocol with many flaws, which does for instance not support multiple/parallel access to your mailbox.
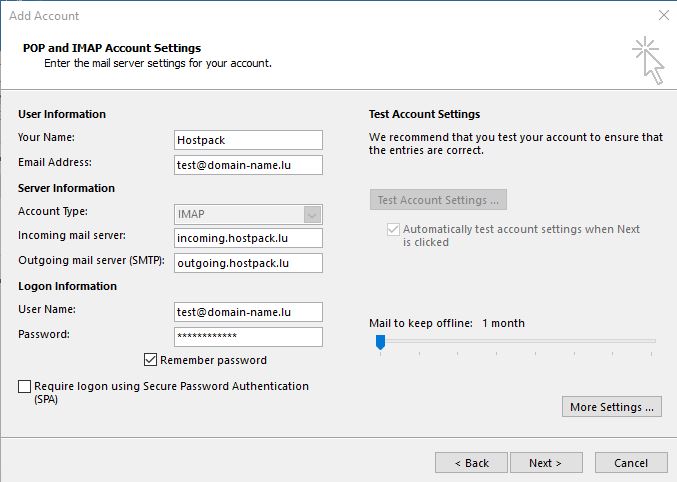
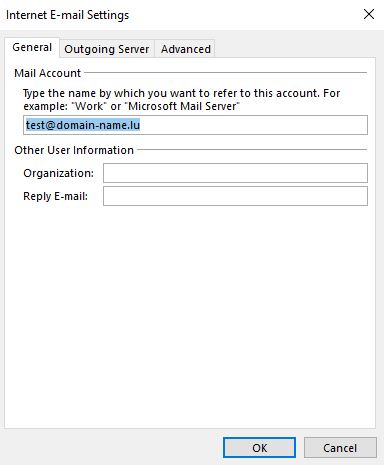
Following settings should be respected when configuring your email client:
Username: Your full email address (i.e. max@mustermann.lu)
Password: Your email account (address) password.
1. to read your mailbox
Server name: incoming.hostpack.lu
Protocol: IMAPS (recommended)
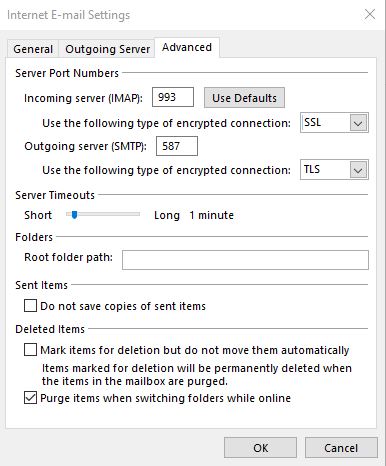
Port: 993 (IMAPS) with TLS/SSL enabled
or
Protocol: POP3S (obsolete – to be avoided)
Port: 995 (POP3S) with TLS/SSL enabled
2. to send out messages
Server name: outgoing.hostpack.lu
Protocol: SMTP AUTH
Port: 465 with TLS/SSL enabled
or
Port: 587 with STARTTLS
Trouble-shooting:
- check that your credentials (email address / password) are correct. Use the HostPack WebMail services to confirm your credentials.
If your credentials are not correct, please check your email address and define a new password using your HostPack Control Panel . - Check that your email client is using a recent TLS version.
TLS v1.0 and v1.1 are not anymore supported.
Recent Operating Systems and email clients should support TLS v1.2 and higher. - Attention: Microsoft Outlook (new version) applies a weird configuration, which might cause problems and violates data sovereignty. We recommend to use the classic Outlook version.
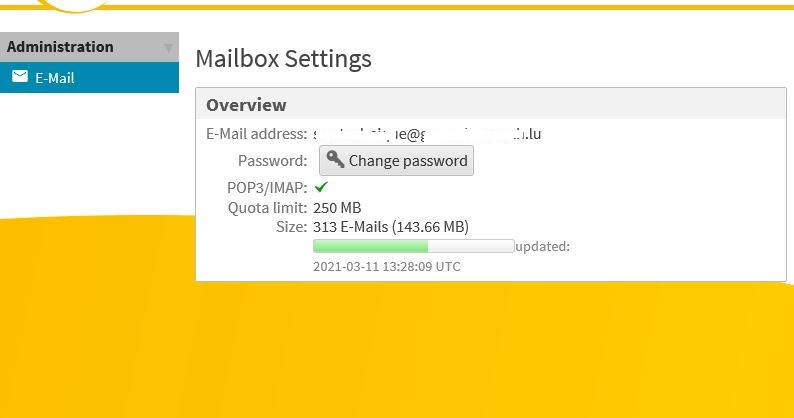
Email access via WebMail
You can access and manage your mailbox also using a dedicated WebMail:
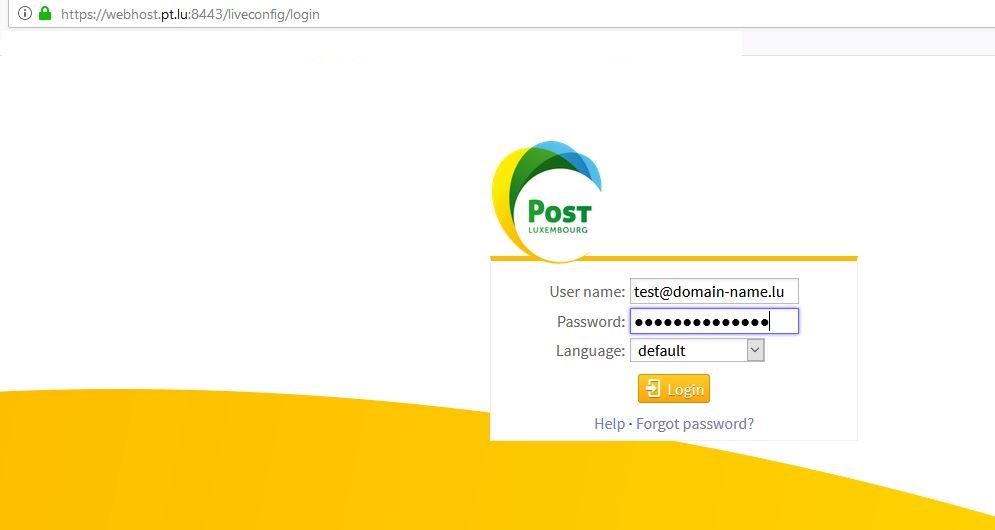
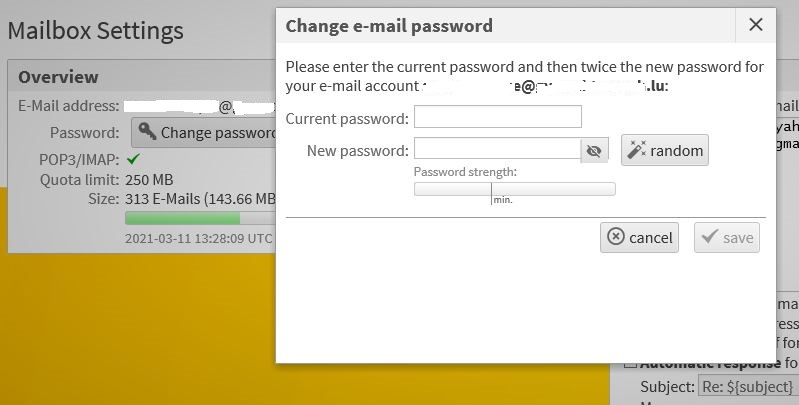
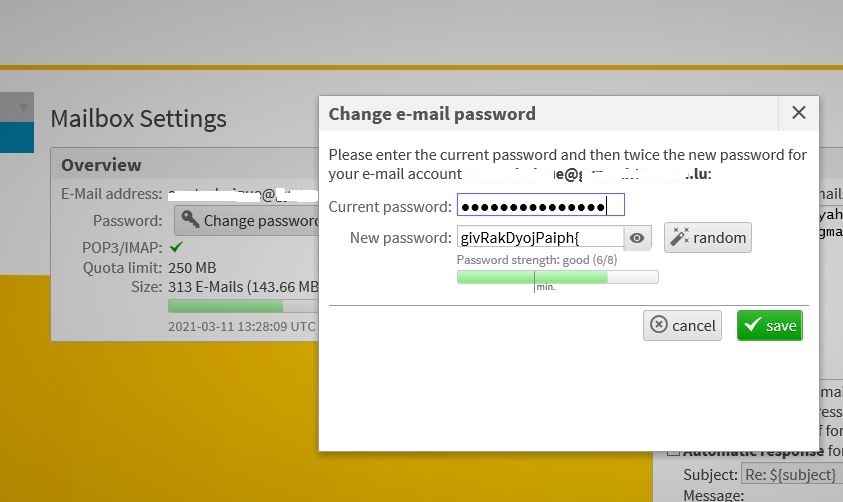
To change the password of your mailaddress go to the link https://webhost.pt.lu:8443/liveconfig/login

Microsoft Office

Mac Mail

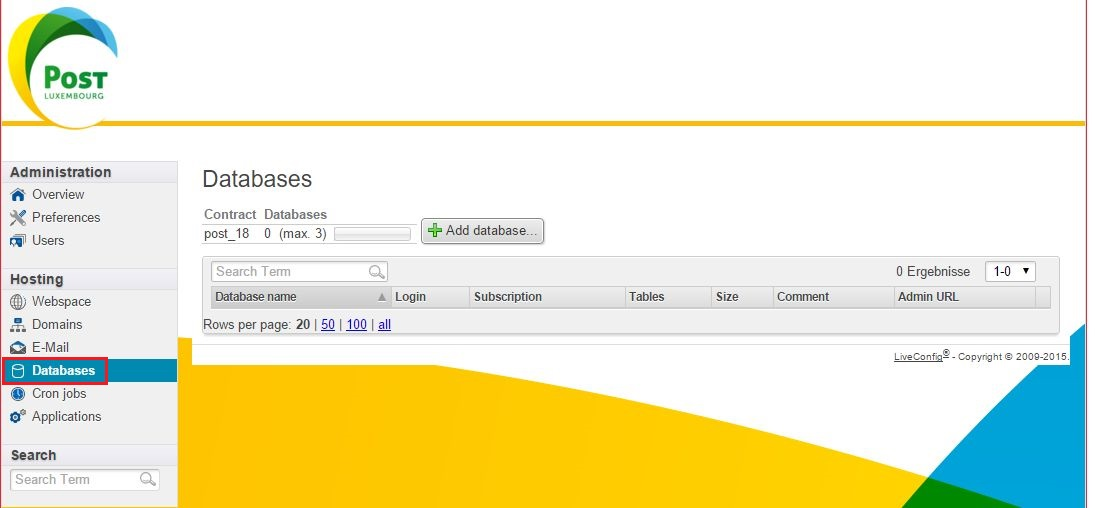
Databases
This section contains the following elements:
View all Databases
Click on Databases
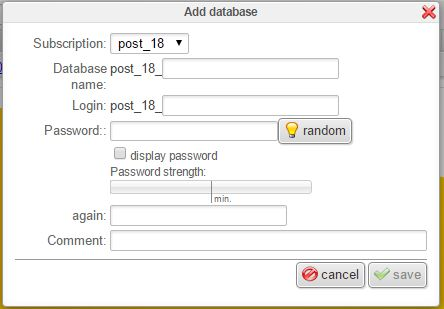
Add a database
Click on Add database…
- Enter the database name.
- Configure the options you want
- Enter a password
- Repeat the password
- For additional security you can generate a random secure password
- Click Save
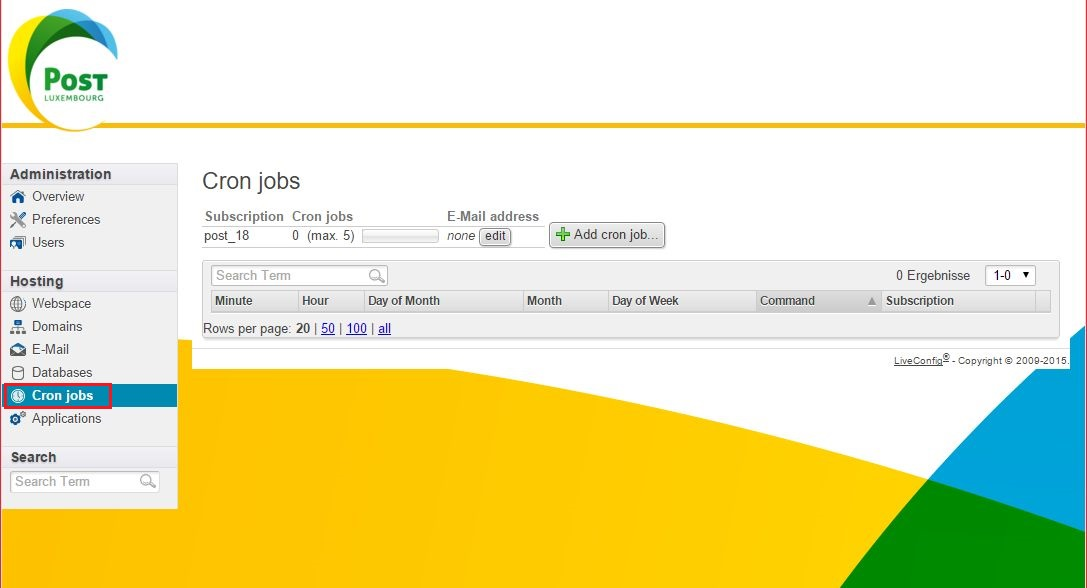
Cron Jobs
This section contains the following elements:
View all Cron Jobs
Click on Cron Jobs
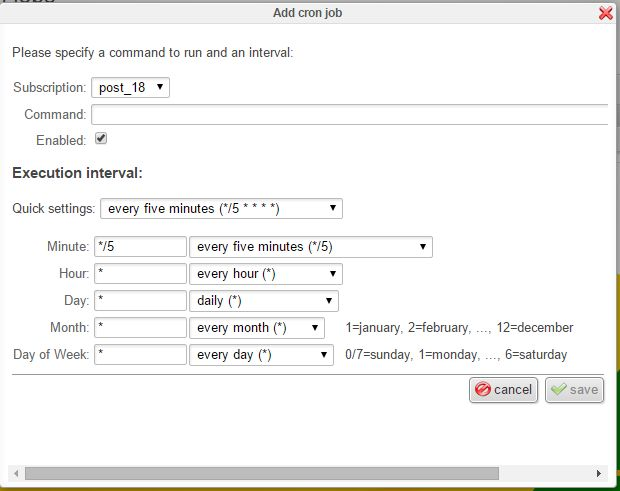
Add a Cron Job
Click on Add cron job…
- Enter the command you want to run
- Set the interval
- Click Save
Examples
- Call a webpage and discard the output
wget -q -0 /dev/null "www.post.lu"
- Execute PHP script
/usr/bin/php /var/www/[subscriptionid]/htdocs/myphpscript.php
Applications
This section contains the following elements:
View all Applications
Click on Applications
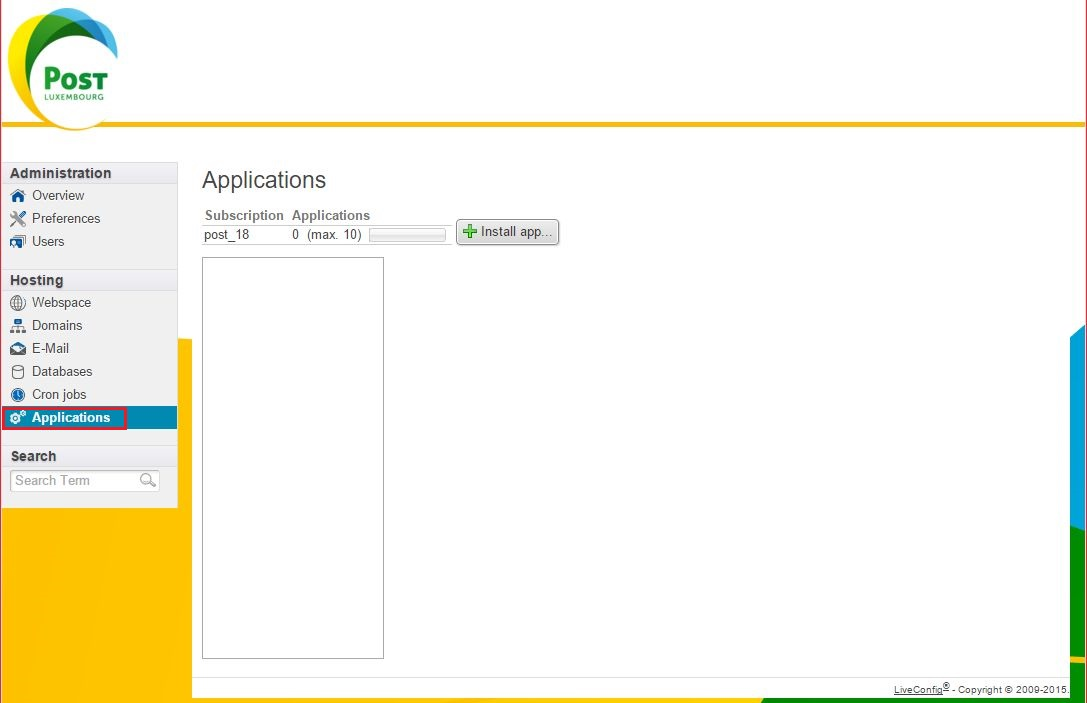
Add an Application
Click on Install app…
- Enter the Application you want to install
- Click install

Short video tutorial – how to install a WordPress application
Short video tutorial – Create a page on your WordPress
SSL certificates
Login into your Hostpack
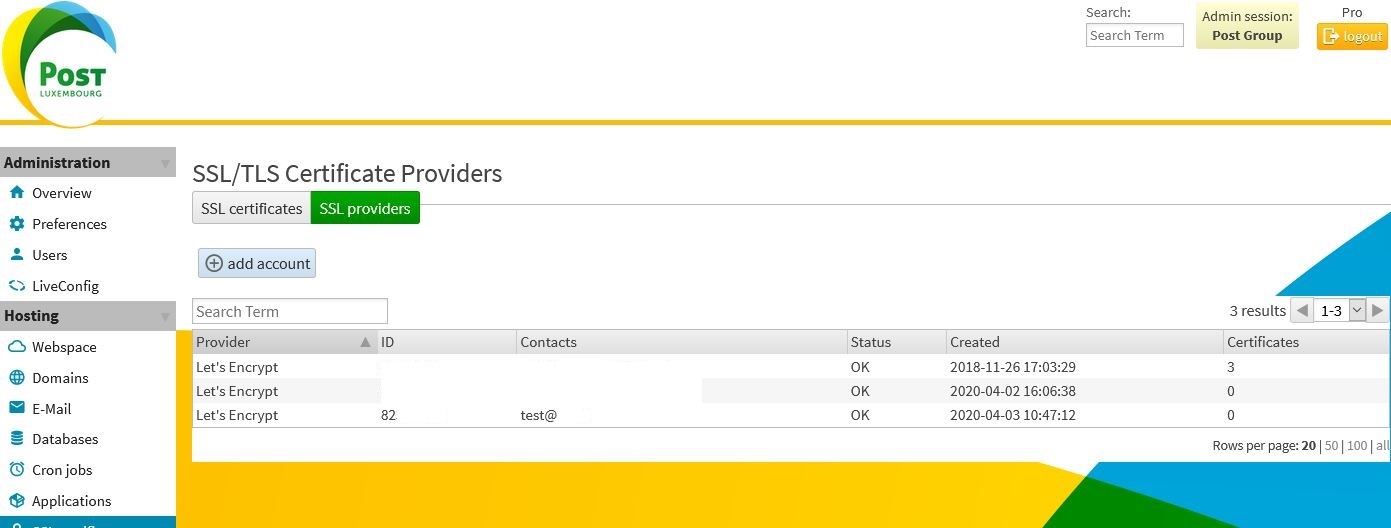
Click on Hosting and SSL certificates
click on SSL providers tab
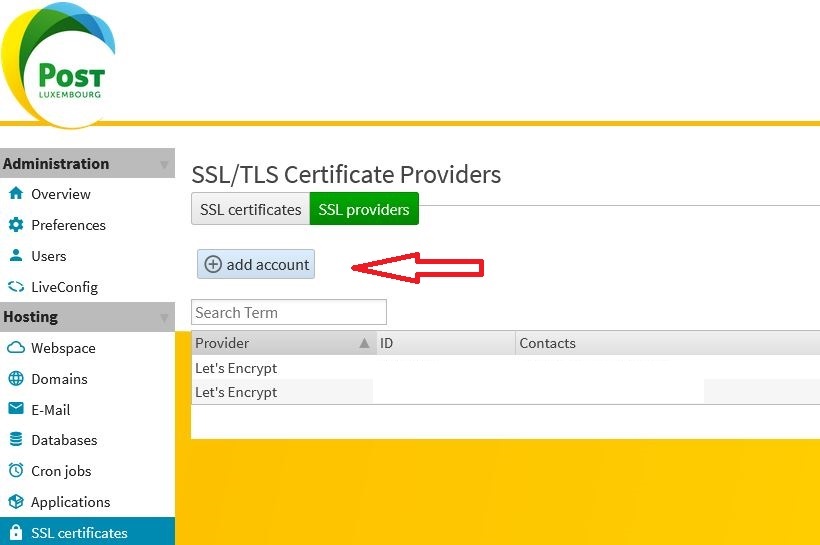
click on add account button
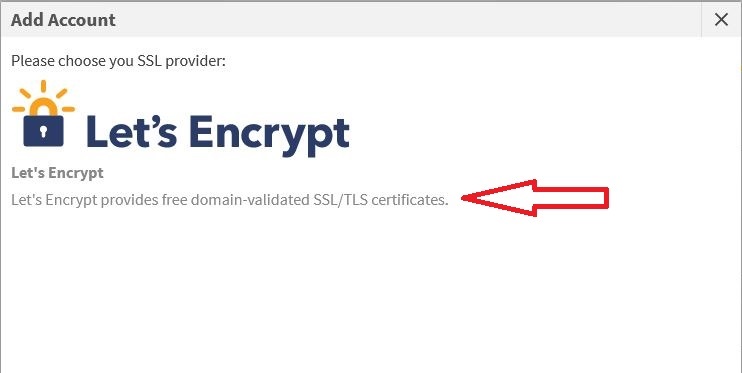
click on the text
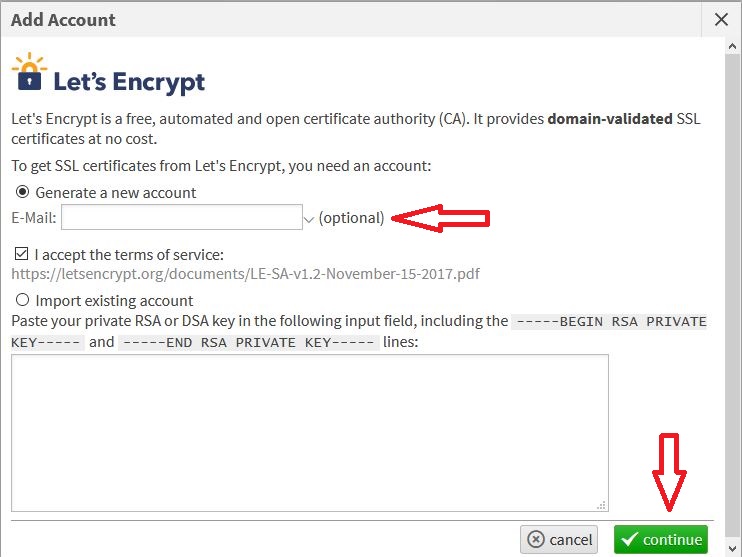
your can enter your email address but it is not necessary if you do not want an auto-renewal or if you if you are using your own certificate.
Click on continue button
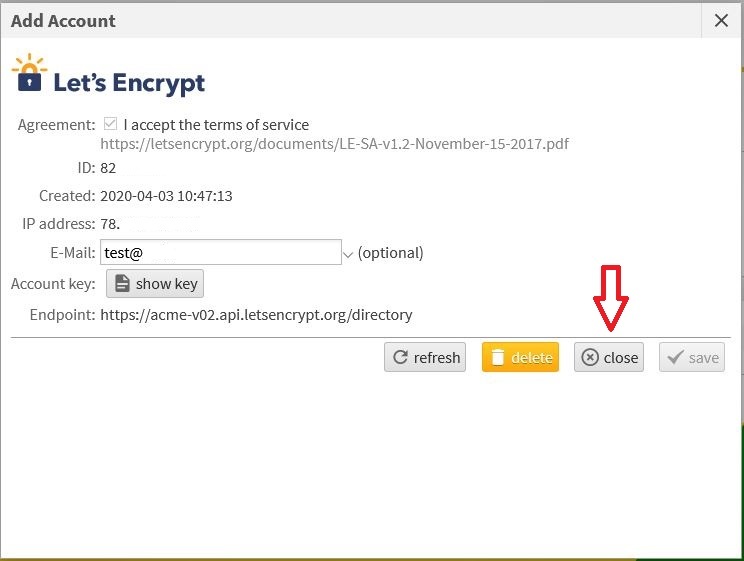
click on close button
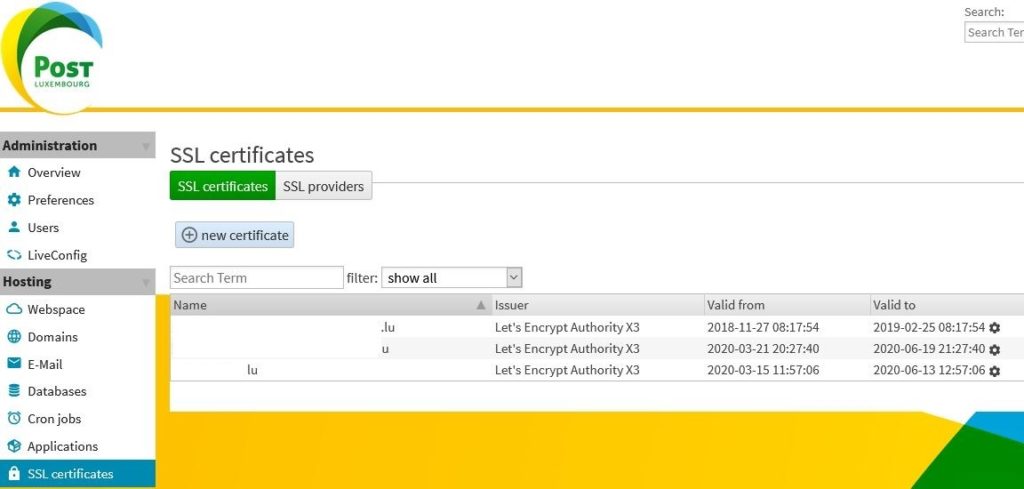
click on SSL certificates tab
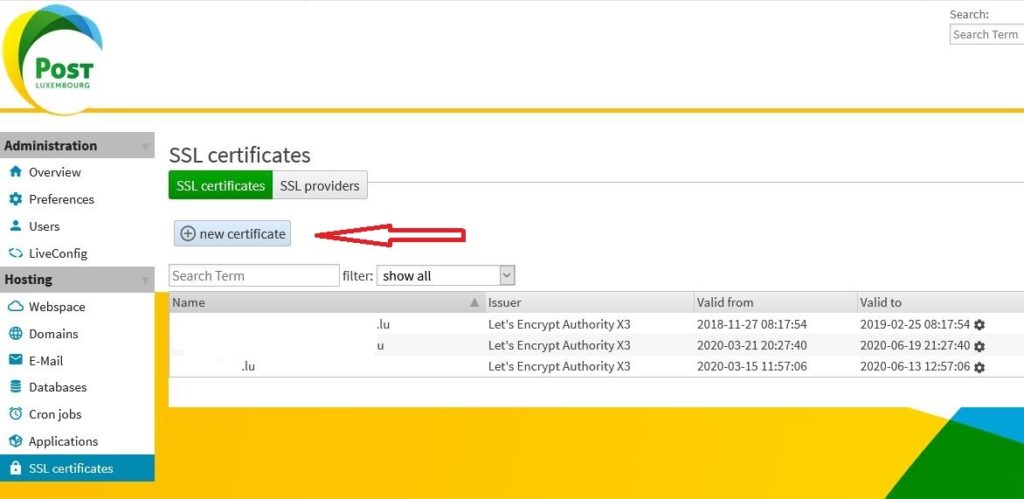
click on new certificate button
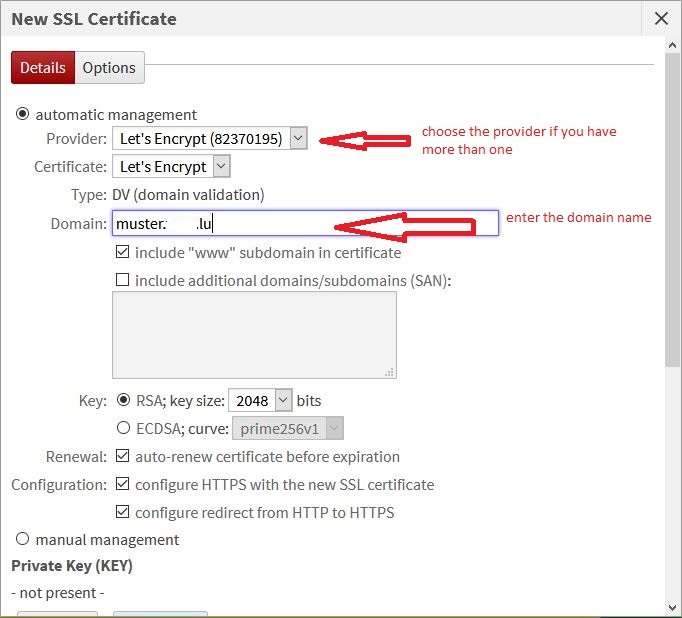
choose the correct provider if you have more than one
enter your domain name and press save button
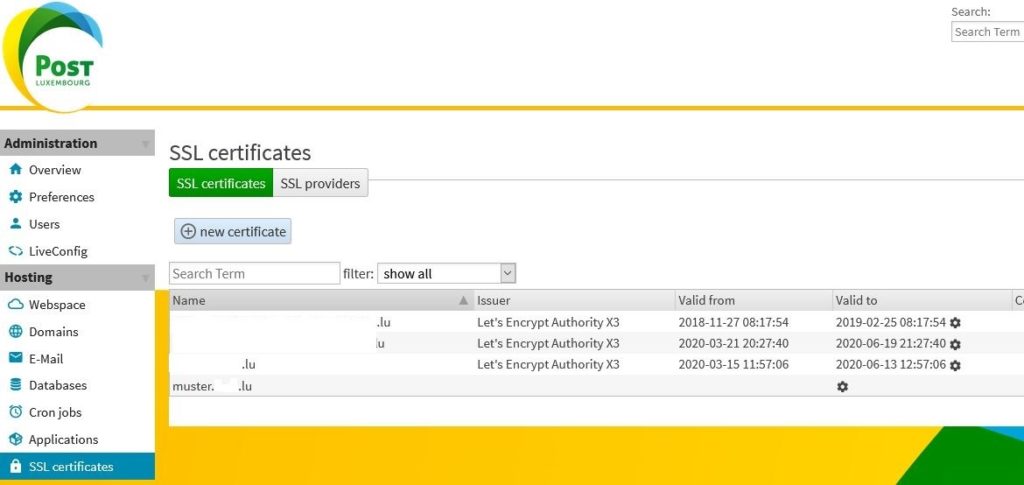
you will see your domain in the list and after a couple of minutes do a refresh of the website to see if the certificate is done.
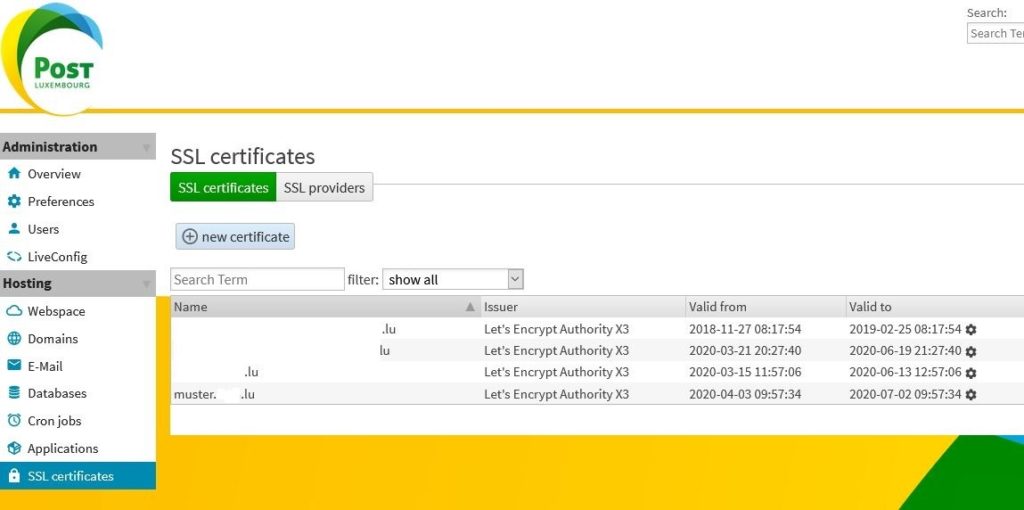
here you will see the validity of your new certificate
Go back to Hosting – Domains
click on your domain name
click on Continue: expert view if you want to make a redirection or select your server path for your webspace
If you want the same parameters for teh subdomain www, just make sure not to deselect the “www subdomain” .
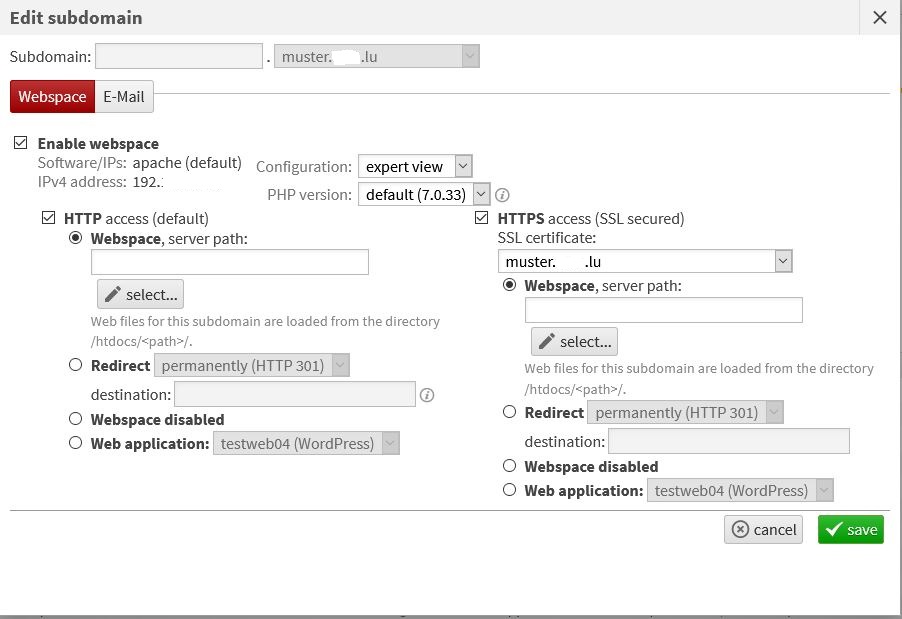
if the configuration is done press the save button.
If you also want to do a redirection of your domain www. your domain , you may enter under HTTP, Redirect the URL https:// domain .
If you want to do a different redirection for your subdomain www.your domain name , you have to repeat the steps beginning from Hosting – Domains, and add the subdomain www.your domain
Short video tutorial – how to enable SSL certificate & HTTPS